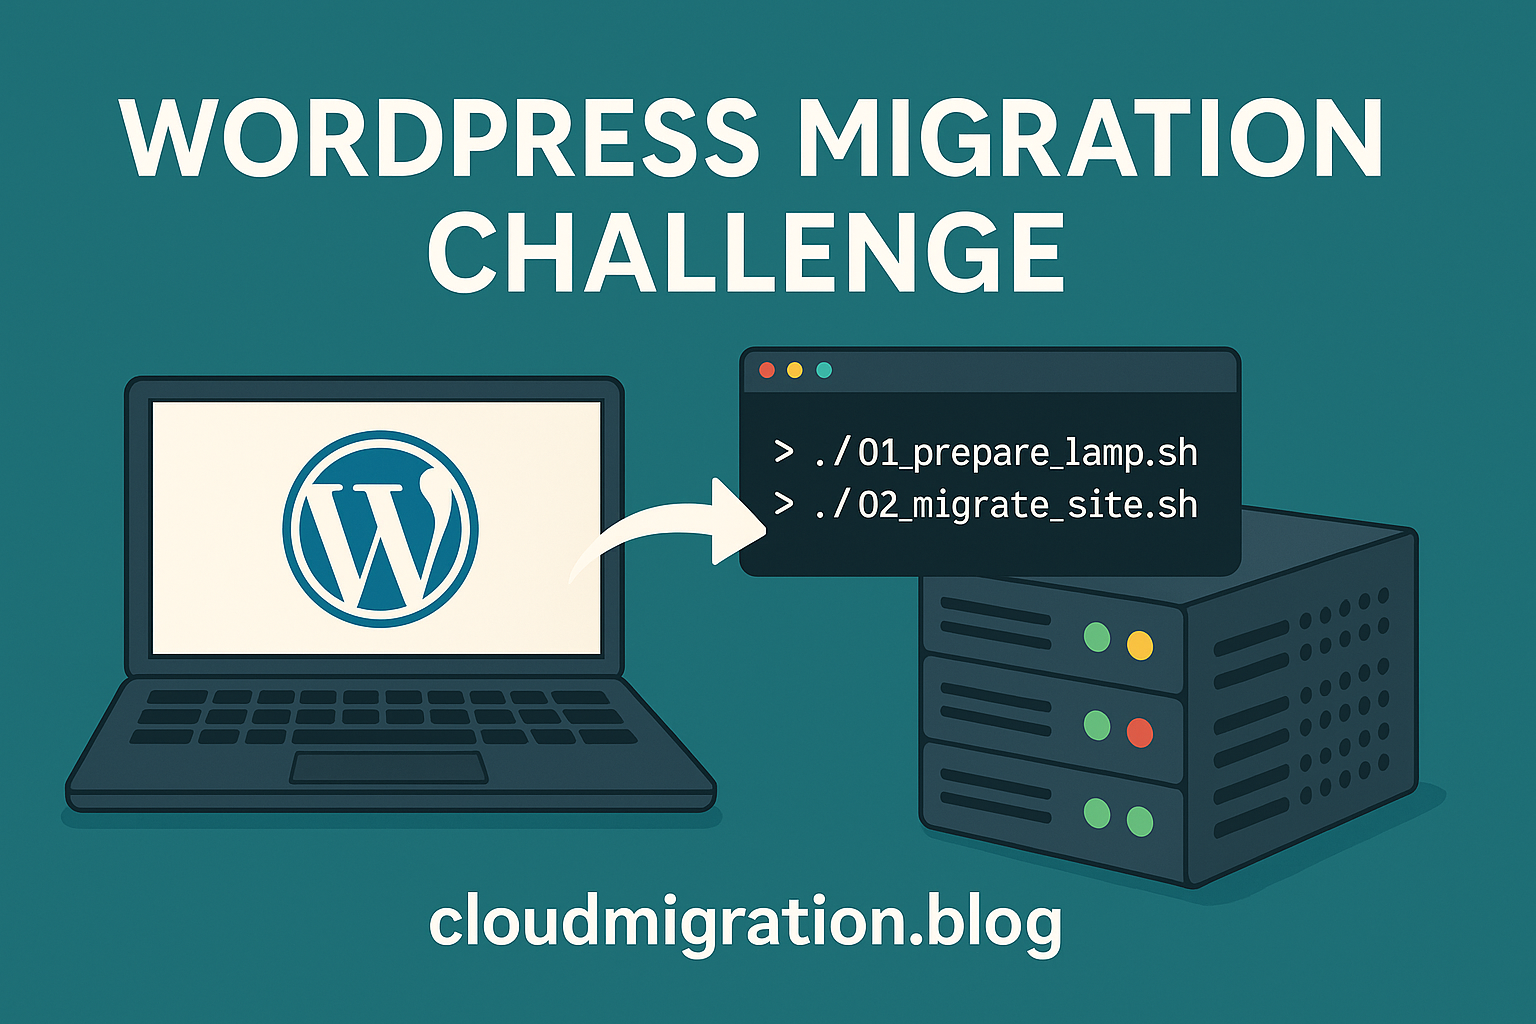
For years, my WordPress site ran smoothly on SiteGround: fast, stable, and easy to manage. But as the hosting plan renewal approached, I realized the cost had quietly grown too high for a personal tech blog. So I decided to take on a challenge: migrate the entire site (files, database, and SSL) to my own self-hosted LAMP server running on Proxmox, with automation powered by AI-assisted Bash scripts.
Step 1: Building the Local LAMP Stack
The foundation was an Ubuntu 24.04 VM on my Proxmox host.
We automated the entire setup with a shell script that:
- Installed Apache, PHP-FPM 8.2, and MariaDB
- Created a self-signed certificate for early testing
- Configured the
cloudmigration.blogvirtual host - Tuned PHP settings to match SiteGround’s environment (using
phpinfo()as a reference)
A verification script ensured everything — from modules to sockets and firewall — was correctly configured before proceeding.
Step 2: Migrating Files
Initially, I used FTP to pull down all files from /public_html on SiteGround.
That worked — but it was painfully slow.
So we switched gears and used SSH with key-based authentication to compress the entire directory remotely, then transfer it securely via SCP.
To ensure integrity, we compared:
- File counts
- Directory trees
- Byte sizes
When both the FTP and SSH copies matched perfectly, we knew the content was identical.
Step 3: Exporting and Importing the Database
WordPress data lives in MySQL, so the next step was exporting the remote database.
Using SSH, we:
- Parsed
wp-config.phpto extract DB credentials. - Ran a remote
mysqldumpwith gzip compression. - Downloaded and imported it locally into MariaDB.
We didn’t just stop there — a comparison script listed every table and row count between the remote and local databases.
When all 74 tables matched, we could confidently say:
the database migration was perfect.
Step 4: Replacing the SiteGround SSL Certificate
After DNS was moved from SiteGround to GoDaddy, I pointed cloudmigration.blog to my public IP (46.139.14.94) via my MikroTik router’s NAT.
Once HTTP and HTTPS ports were open, a script verified DNS propagation across multiple resolvers (Google, Cloudflare, Quad9).
Then we used Certbot to automatically:
- Request a Let’s Encrypt certificate
- Replace the old self-signed cert
- Update Apache’s virtual host configuration
- Enable HTTPS redirection
Now the blog loads securely from my own VM with a trusted certificate.
Step 5: Cleanup and Fine-Tuning
A final script handled:
- Removing SiteGround-specific WordPress plugins
- Fixing folder permissions (especially
wp-content/uploads) - Setting recommended Apache and PHP security options
With that, the migration was complete — fully automated, reproducible, and clean.
Step 6: Backup and Recovery
Disaster recovery is often overlooked — but not here.
I built a dedicated backup script that:
- Exports the WordPress database
- Archives the entire site directory
- Stores both with timestamps and checksums under
/home/attila/backups
Using these files, I can restore the entire site — from OS-level disaster to a working WordPress — in minutes.
Step 7: The Final Test
To confirm the migration was truly live:
- I created a new post —
TEST POST FROM VM. - Flushed local DNS and viewed the site from a mobile network (outside my LAN).
- The post appeared instantly, served over HTTPS from my home IP.
That was the moment I knew:
cloudmigration.blog was officially running on my own infrastructure.
Lessons Learned
- Automation saves time and ensures reproducibility.
Each script was modular — from setup to verification. - DNS propagation takes patience.
It can take hours for global resolvers to catch up. - Self-hosting is empowering.
With a modest VM, I now host a production-ready WordPress site with full control and zero recurring fees.
What’s Next
I plan to publish these scripts as an open-source toolkit — a fully automated “WordPress Migration Lab” anyone can use to move from shared hosting to their own infrastructure.
Future plans include containerizing the setup with Docker Compose and exploring multi-site replication across clouds.
